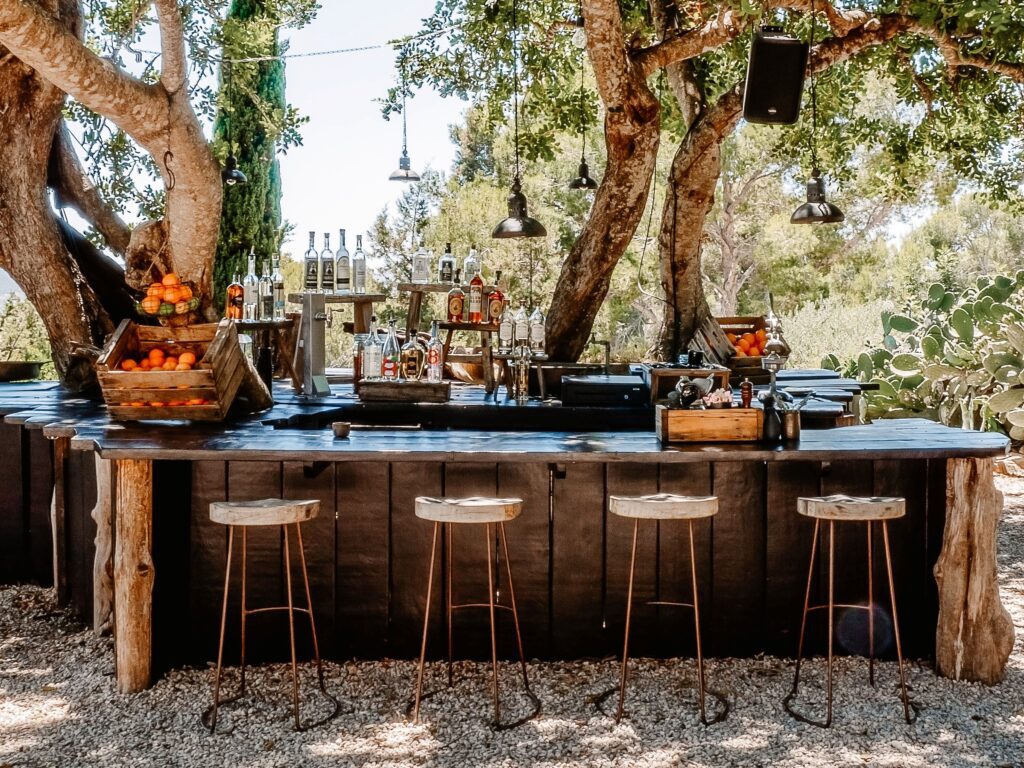
Your kitchen is the centerpiece of your home. It’s where every meal is cooked and where people gather while eating. If your home comes with a large enough space in the back, you could extend your kitchen to the outdoors. If you want your outdoor kitchen to function just like your indoor one, it’s not enough to just put down a table and some plastic chairs.
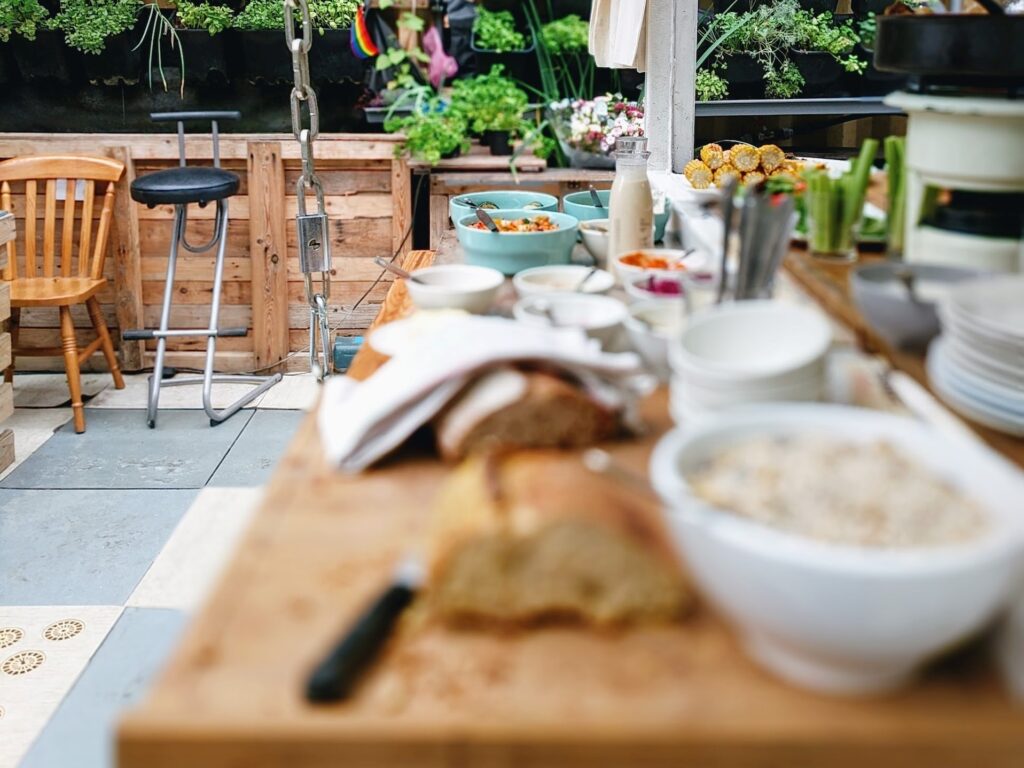
Once you have an outdoor kitchen, you’ll be able to prepare meals and serve them to guests without needing to constantly run back inside your home to get beverages or plates. Outdoor kitchens can take many different shapes and forms, which include everything from a basic island with a simple design to a custom kitchen that’s outfitted with modern appliances.
The many benefits provided to you by an outdoor kitchen include spending more time outside, decreasing the amount of mess in your home, increasing your home’s value, and reducing your monthly energy bill. The following is a step-by-step guide on what it takes to build an outdoor kitchen.
What is an Outdoor Kitchen?
An outdoor kitchen is an extension of your indoor kitchen that allows you to host parties and entertain guests outdoors. It expands your home’s living area to the outdoor space. Many of these kitchens also come with comfortable seating areas.
Project Overview
There are three steps that are necessary for every outdoor kitchen project, which include making a plan, gathering the right tools and materials, and construction.
Step 1: Make a Plan
Knowing what it takes to build an outdoor kitchen requires you to plan the project beforehand. You should think about everything that you want to have as well as the size and layout of the kitchen. The best outdoor kitchens are ones that are positioned near the back door. You could also build this kitchen near a patio or deck.
If you have a separate gazebo or pergola with a large enough floor space, the area could function as an outdoor kitchen. Before you create an outdoor kitchen, select the height of your countertop. The average height is around three feet.
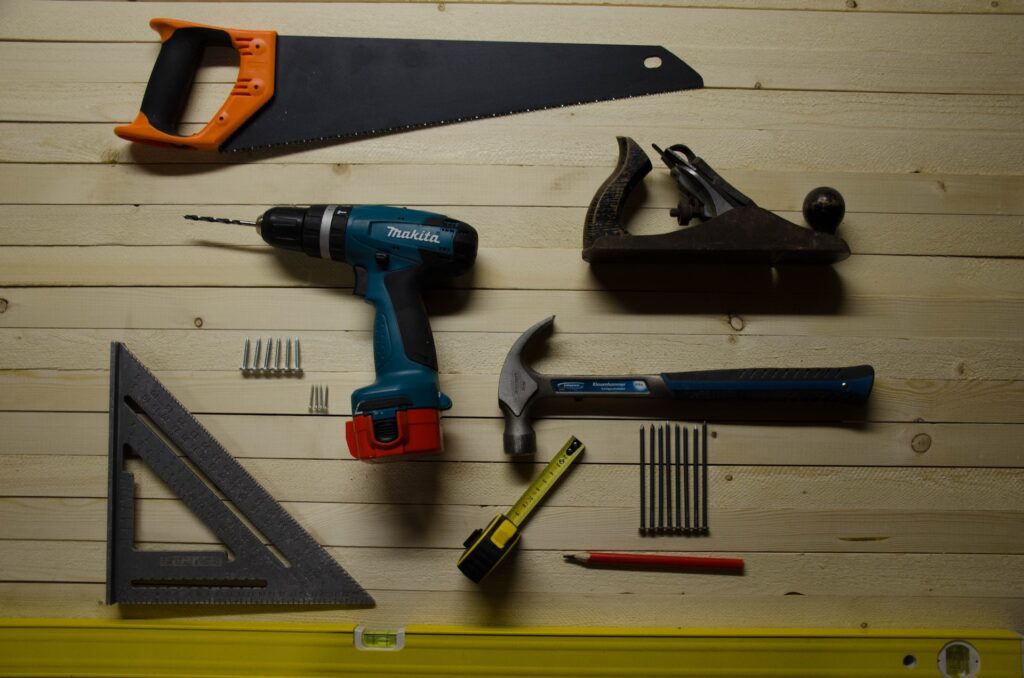
Step 2: Gather Tools and Materials
When creating an outdoor kitchen counter, you’ll need to frame three wood boxes, each of which requires pressure-treated lumber. The types of tools and materials you’ll need for this process include:
- Exterior screws with 1 1/2-inch, 2-inch, and 2 1/2-inch lengths
- Circular saw
- Roofing nails
- Construction adhesive
- Drill
- Mortar mix
- Mortar bucket
- Masonry hoe
- Pointed trowel
- 1/2-inch notched trowel
- Trowel for applying a scratch coating
- Wet tile saw
- Countertop
- Tile edging
- Dust mask
- Hearing protection
- Safety glasses
- Work gloves
Step 3: Construction
The third step in this process involves constructing your outdoor kitchen, which can be done with several different methods. Outdoor kitchens can consist of multiple layers. Along with the base frame, a surface can be added to provide something for the cladding to attach to. The outdoor kitchen material you use can be anything from tile and stone to stucco.
Types of DIY Outdoor Kitchens
There are three types of outdoor kitchens, which include:
- Built from scratch – These are the most complex projects and involve constructing every aspect of your outdoor kitchen from the ground up.
- Ready-to-finish (RTF) – With this type of outdoor kitchen, the frame is already built for you.
- Ready-to-assemble (RTA) – The grill island for this kitchen is already complete when it arrives, which means that it can be easily put together like a piece of furniture.
Built From Scratch
If you’re not looking for a basic do-it-yourself experience, building your outdoor kitchen from scratch may be the preferred option. Despite the high costs, this option allows you to personalize every aspect of the kitchen.
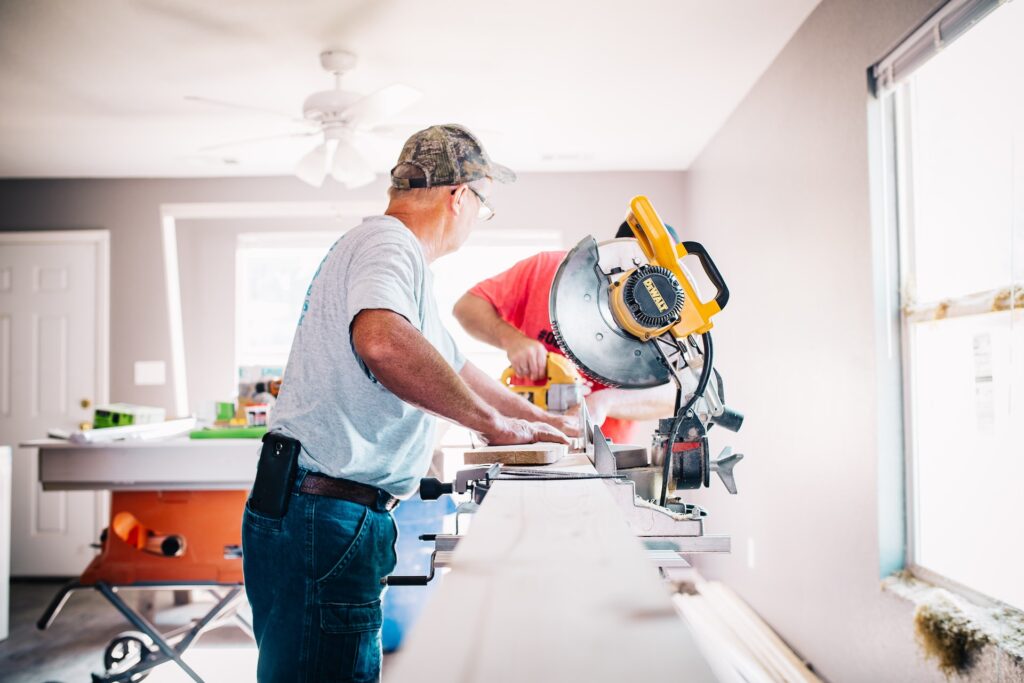
Step 1: Construct the Frame
The first step in this process involves constructing the frame, which can be done with either wood or metal. If you’re using wood, begin with a blueprint or layout of your design before constructing your kitchen. You should also understand the specifications that your appliances have and where they will be positioned.
Cut vertical studs, header, and footer pieces in your wood or metal materials. These pieces serve as the frame for your kitchen. You’ll need a chop saw or circular saw for this step of the process.
Make sure that you take the countertop thickness into account by making the frames lower than the desired height. Countertops are usually around 1.25″ thick. The wood studs can be attached with exterior screws and a drill. Cross supports should be cut as well. They will be used as spacers and will offer support for the structure.
If you’re constructing the kitchen with concrete block, it’s highly recommended that you hire a professional who has masonry skills. Since concrete isn’t easy to manipulate, you’ll be tasked with using heavy-duty tools.
Step 2: Cover the Frame
Now it’s time to provide a covering for the frame, which will be the surface where the cladding material will be applied. The majority of these materials require masonry surfaces for a strong bond. While frames were once covered with plywood to provide a moisture barrier, modern construction techniques typically cover frames with cement board.
You’ll cut this board to the correct size before applying the sheets directly to the frames. Your scratch coating can be applied to this board without adding mesh. This entire step can be skipped if you opt for concrete block. After you’ve cut sheets of the cement board to the exact frame dimensions, you can attach them with metal or exterior screws. A self-adhesive fiber mesh should be placed on all corners and seams.
Step 3: Apply a Scratch Coat
The third step in this process is to apply a scratch coat to the cladding material, which creates a rough surface. If you’re using cinder block as your material of choice, select a masonry mortar mix for the scratch coat. The best scratch coat for cement board is an exterior-rated thin set.
The concrete should be mixed with an electric mortar mixer or masonry hoe. You can apply the concrete solution with a trowel, after which it should be scored horizontally to make a rougher surface. The scratch coat should cure for around 24 hours.
Step 4: Install Countertops
This step involves installing the countertops, which can be done before or after you apply your cladding material. The countertop cutouts should match the island base openings.
Step 5: Install Cladding Material
You can now install the cladding material, which can be tile, stone, or stucco. This material should be worked to the top from the bottom. As you apply the material, scrape excess mortar off to ensure a clean surface. Stones should also be cut to properly fit before you apply them, which can be done with an angle grinder or masonry saw.
Step 6: Install Appliances and Connect Utility Lines
The final step involves installing your appliances and connecting any utility lines. Begin with any appliances that will sit on your countertops. From here, you can install your refrigerator or access doors.
RTF (Ready-to-Finish)
If you don’t want to go through the hassle of constructing your outdoor kitchen from scratch, you can make an RTF kitchen, which gets rid of some of the previous steps. For instance, you won’t need to build the entire frame. Instead, you’ll receive the frame with the cement board already attached.

Step 1: Unpack and Connect Pieces
In the first step, you’ll need to assemble and bolt together the pieces you receive to connect everything. The panel studs should be bolted together on the four corners to the front-facing wall, which ensures the unit can stand up.
The panel-connecting struts should then be connected to the back panel. Make sure to place leveling feet along the bottom of the studs. Caulking should also be placed along the bottom of these struts to connect the floor board.
Step 2: Place Modules
In this step, you’ll need to place the different modules that you’ve purchased. The modules you receive depend on the exact design you made.
Step 3: Cutout Appliances
This step involves preparing the appliance cutouts, which can be done by referring to your layout. These systems don’t come with appliance cutouts, which means that the step needs to be done manually. If you need to cut through cement board, do so with a grinder that has a masonry block.
Step 4: Install Grill Arms/Supports
Now it’s time to install the grill arms or supports to reinforce the openings where the built-in grill will be installed. You should have the screws needed to complete this step.
Step 5: Install Side Panels
This step involves placing the caulking along the side rails, after which the side panels should be positioned on top. You can then use screws to secure the cement board.
Step 6: Cutout Vents
This is a simple step that only requires you to cut out your ventilation.
Step 7: Finishing
These kitchens don’t come finished, which means that you’ll need to do this step yourself. It’s the same as the one detailed with the built-from-scratch kitchen.
RTA (Ready-to-Assemble)
These kitchens are easy to assemble. In fact, the grill island is around 95% complete when it arrives at your home. You and a few friends can put it together like a piece of furniture.
You should receive countertops, hardware, appliances, and panels when you purchase an RTA kitchen. The finish should have already been applied. All you need to do is bolt all of the panels together before placing the countertops on and sliding in any appliances.

Step 1: Assess Current Outdoor Space
Examine your outdoor living space before doing anything else. You may need to make changes to the existing surface before buying the kitchen. Since you won’t need to make a frame, the cabinets will be hollow and can be used for utility lines.
Step 2: Unpack and Uncrate Your Grill Island
The kitchen will be sent to you on pallets that are stored in crates. They can be unpacked with a pry bar and drill.
Step 3: Install Panels
You can now put all of the pieces together. The back panel should be attached to the side panels before anything else. The drill you use should be fitted with a hex head bit that measures at 5/16″. From here, line the inside corners up before bolting the panels together. Once the side panels have been attached to the back, you need to attach the front panel with the L-brackets. The self-tapping screws should be placed in the correct alignment channels.
Step 4: Install Countertops
Now that your panels are in place, it’s time to install the countertops. Line up the cutouts on your countertop with the panel cutouts. You can then secure your countertop with an adhesive or silicone.
Step 5: Install Appliances and Hookup Utility Lines
There are a few last touches that you should do before the project is finished. Start by placing your drop-in appliances on the countertops, which can include your outdoor sink and gas grill. You don’t need to fasten them.
You should then mount doors and drawers to the panels with the screws that are given to you. Ice makers and refrigerators should easily slide into the openings. You can now plug in appliances and hook up utility lines. At this point, you’re officially done with everything and can enjoy your new outdoor kitchen!
Budget Management
If you want to construct an outdoor kitchen, having a proper budget is important. This kitchen can be as affordable or expensive as you want it to be. Do you want to build a kitchen that lasts? If so, more expensive materials might be needed. Before you settle on any materials, make sure that you identify the prices for all materials and tools that you’ll need to complete this project. If you have a strict budget, you could replace a few expensive materials with some more affordable ones that are still high-quality.
Building an outdoor kitchen in your backyard is a great way to add to your home’s value and functionality. Once you’ve set a budget and selected the type of outdoor kitchen you’d like to make, you should have everything you need to complete the project at hand.