Very few homeowners have a home that they are 100% happy with. Whether your home doesn’t look lived in or your lighting is drab, there are myriad improvements that you can make to spruce up your home in 2022. While you can always renovate entire rooms, home decor projects can be much simpler and more straightforward than large remodeling projects. There are plenty of reasons why people might want to DIY their home. If you’ve just recently purchased your first home and haven’t had time to personalize it, now might be a great time to get started.
You might also want to begin a home decor project because your home interiors haven’t changed for years. Whatever the reason, your home decor project can come in many different shapes and sizes. Keep in mind that these projects can make the interiors of your home feel renewed and refreshed. It’s also a great use of time if you’re at home more often and are searching for something to do. Home decor projects are fun and can be highly rewarding.
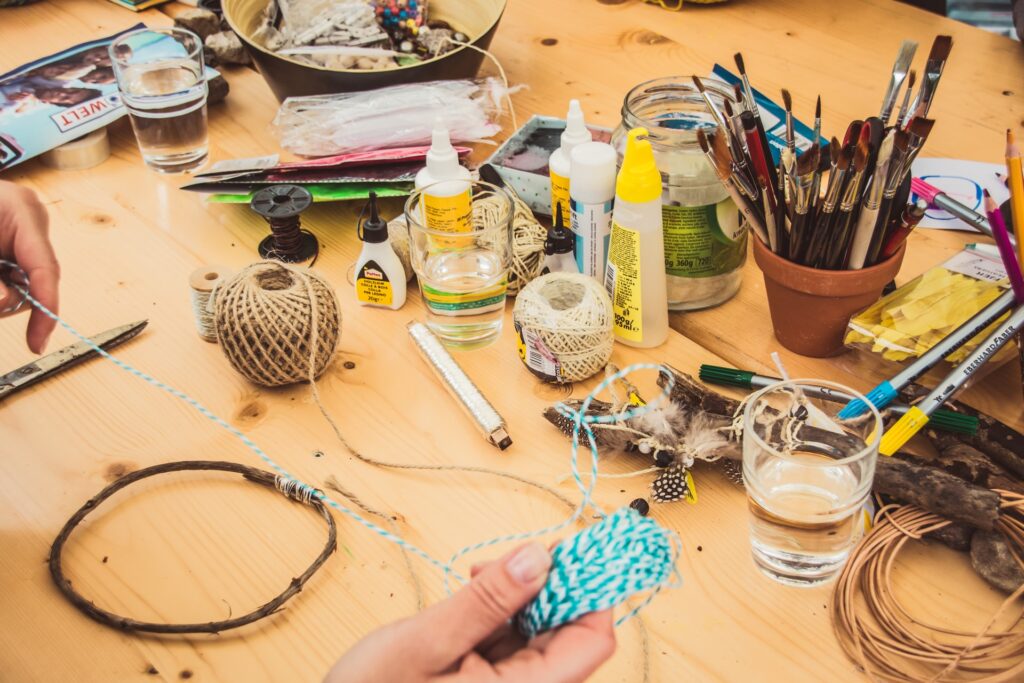
If you want to complete a DIY home decor project but are unsure of where to start, there are several resources that offer useful suggestions and tips on how to improve the decor of your home. Likely the most convenient options are online websites that are designed specifically to highlight the best home decor improvements that homeowners can make. Pinterest is particularly beneficial since it shares images of your exact search query. This article takes a closer look at nine home decor projects that you might consider completing in 2022.
1. Propagate a Plant
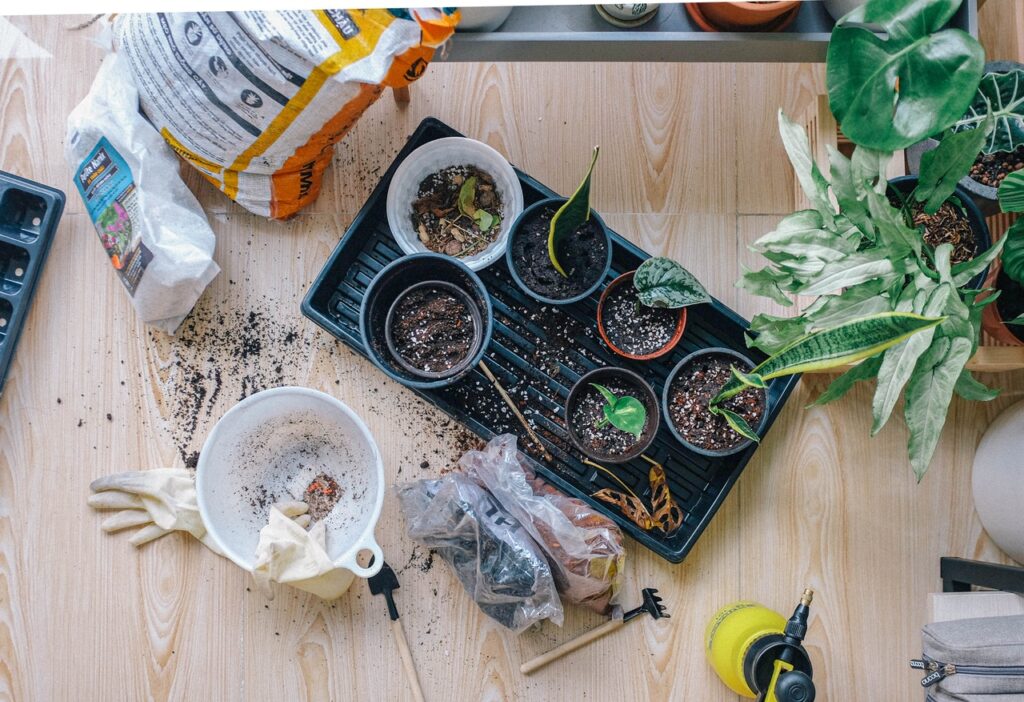
Among the easiest projects you can do when you want to spruce up the interiors of your home involves propagating a plant. Even if you’ve never gardened or worked with plants before, this process is surprisingly straightforward. It essentially involves turning one plant into additional plants. By obtaining a piece of a larger plant, it’s possible to grow a smaller one with that piece. While there are several methods you can use to propagate a plant, the following takes a look at the easiest one. The items you’ll require to complete this project include:
- A plant
- Gloves
- Shears
- A glass jar and potting soil
- A planter
- Trowel
- Rubbing alcohol
You’ll first need to find a node directly on the plant’s stem that you can cut from. The node is a small bump that’s positioned just nearby a leaf. Make sure that your shears are sterilized with rubbing alcohol before making the cut. You should also be wearing gardening gloves at this point. The piece of plant that you cut off should be placed in a jar of water before positioning the jar in sunlight.
You’ll only remove this plant from the water once it has rooted. It should then be placed in fresh soil and watered properly. While the initial cutting process can be completed in less than 10 minutes, it takes around 3-4 weeks for plants to start rooting. Propagating a plant can cost you around $10-$30 depending on the items you already have in your possession.
2. Make a Piece of Furniture Look Distressed
An effective method for making your home appear more lived in while also providing the interiors with a farmhouse antique appearance is by making one or more pieces of your furniture look distressed. This type of finish adds warmth to any room and is easy to achieve. The materials you’ll need for this project include:
- Latex paint
- Paint brushes
- Sandpaper
- Hand sander
- Tack cloths
- Polyurethane
- Screwdriver
- Tarp
The first step in this process involves removing hardware from the furniture, after which the piece of furniture should be thoroughly washed with basic soap and water. Once you rinse the furniture off, clean it with a tack cloth. You can then paint the furniture in your preferred color. Make sure that the paint dries before you apply a second or third coat.
The furniture can then be given a distressed appearance with a hand sander and fine-grit sandpaper. After you have distressed your furniture, clean off any extra sawdust with your tack cloth. You can also choose to add a polyurethane sealant for added protection against wear and tear. You can expect to pay anywhere from $50-$100 for the materials that are needed for this project. Completing this entire process should take you a few hours.
3. Create a Cozy Window Seat
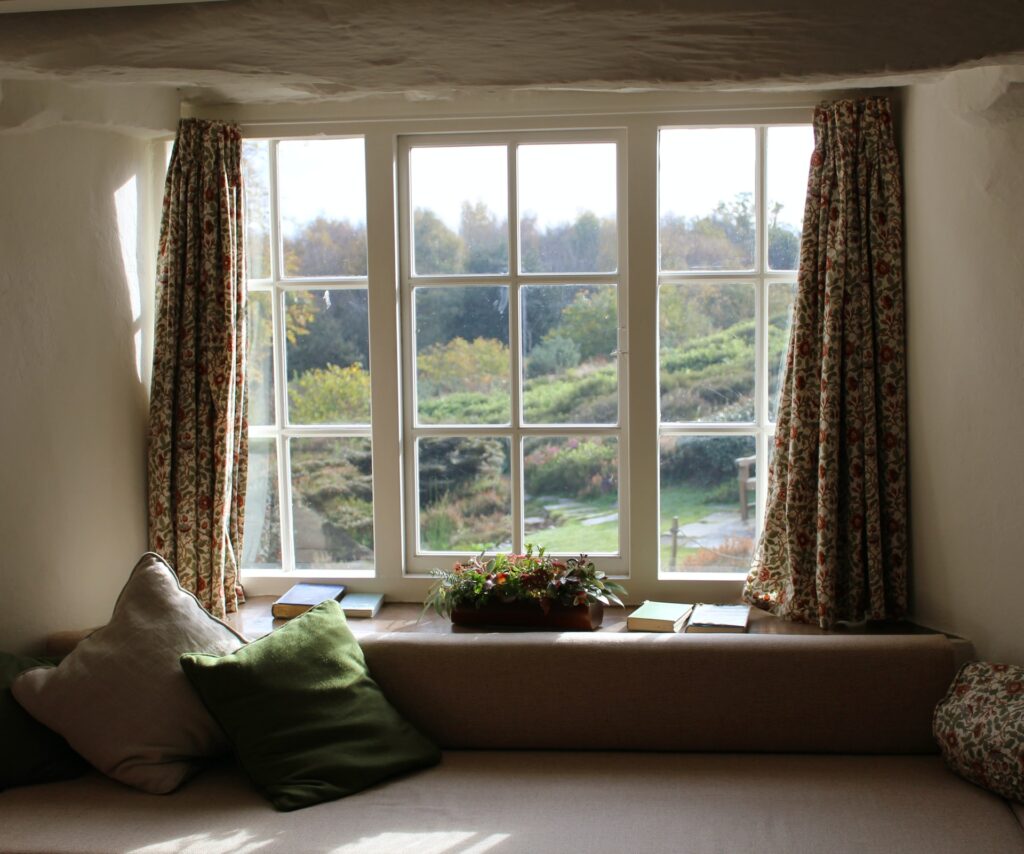
A wonderful addition to any home is a cozy and comfortable window seat that provides additional seating without taking up space. Keep in mind that this option is only possible if one of the windows in your home is outfitted with a large window sill.
While it’s always possible to purchase a cushion that can be added to the window sill, it can be difficult to find a cushion in the exact dimensions of the sill. You can mitigate this issue by creating a window seat on your own. Once you have all of the materials, this process should take around 20 minutes. The materials themselves will cost you around $50. To complete this project, you need:
- Foam that’s at least three inches thick
- Your preferred fabric
- A tape measure
- Large safety pins
First, you need to measure the width and depth of the window sill. The measurements you obtain can be used to purchase fabric and foam that fits the area. Make sure that the fabric and foam is larger than the measurements, which allows you to avoid any issues with incorrect sizing. You can then cut the foam to properly fit your measurements. The foam should be wrapped in the fabric, which is the same process as wrapping a present. Pin the ends of the fabric that come together with your safety pins. Once all of the foam is wrapped, you’ll have a window seat that should fit perfectly on your window sill.
4. Swap Out a Funky Door Knob
If your home is outfitted with the same doorknobs that were there when you moved in or had the home built, you might want to consider swapping out your old doorknobs for more modern and aesthetically pleasing ones. To complete this process, you’ll need to have a new doorknob, a basic Phillips-head screwdriver, and some measuring tape. The costs associated with this project could be anywhere from $50-$200 depending on the price of the doorknob. Swapping out your old doorknob with a new one should only take around 10-15 minutes.
Most doorknobs have visible screws that you will need to remove. Once the old doorknob has been removed, you should also remove the faceplate and latch. The final piece that needs to be removed is the strike plate, which is also kept in place with screws. The next steps involve installing your new doorknob. In order, you will need to install the:
- Face-plate
- Front of your doorknob
- Back of your doorknob
- Strike plate
The installation process is essentially the reverse of the removal process. Once the strike plate is positioned on the door frame, the project is finished.
5. Restyle a Shelf
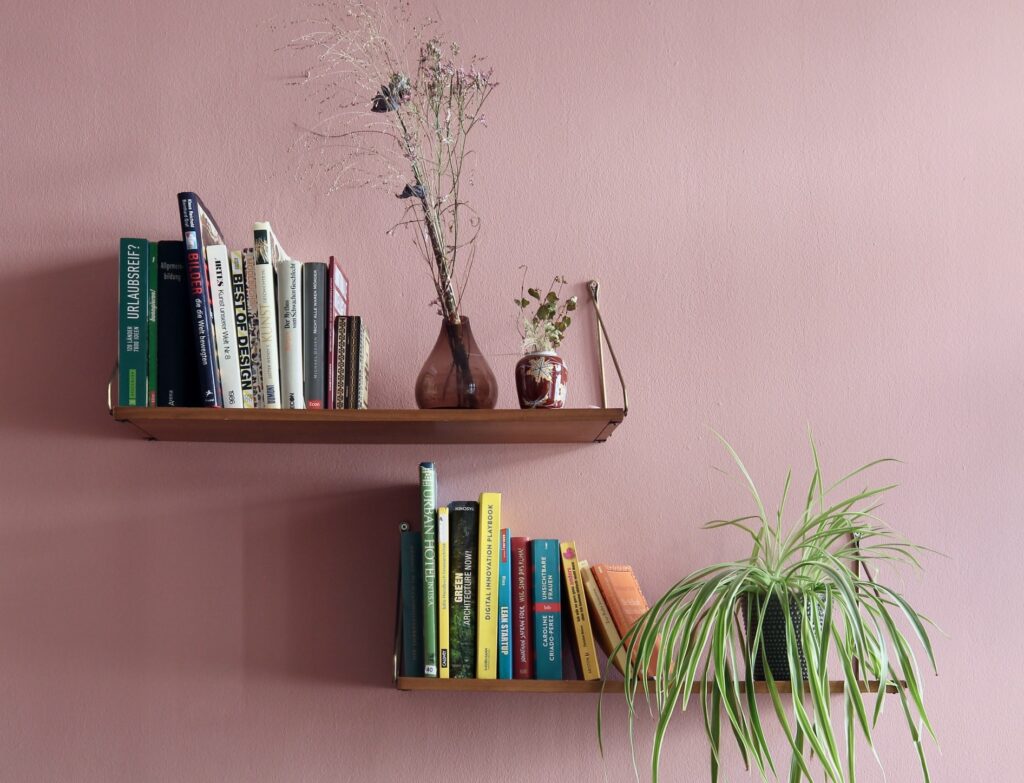
Even if you’ve placed some beautiful shelving in your home, you might find yourself becoming tired of looking at the same shelves every day. Instead of purchasing an entirely new shelving unit, consider restyling a shelf to add your personal touch to the appearance of the unit. This type of project can be completed without spending any money and should only take 10-20 minutes of your time.
If you want your bookshelf to stand out, consider a classic neutral style, which uses a combination of white, tan, black, and cream hues. Make sure that you place some accessories on the shelves to accent the appearance of the bookshelf. You could also consider a colorful eclectic appearance, which means that the focus of your restyle could involve colorful art pieces, books, and decorative items. With the right approach, your bookshelf could match your home’s interior design.
6. Create Your Own Curtains
If you don’t have a sewing machine at home, you might consider making some no-sew curtains to enhance the appearance of your home’s interiors. All that’s required for this project is some double-stick fabric tape as well as a fabric of your choosing. Expect to pay around $24-$60 for the materials you need for this project. Making curtains can take anywhere from 15 minutes to an hour depending on your skills.
To begin, hang up your curtain rods. You will then need to measure your window to identify how much fabric you’ll require. It’s up to you how long your curtains are. While some homeowners like their curtains to almost touch the floor, other homeowners prefer curtains that end just below the window sill. It’s now time to cut the fabric with the measurements you’ve obtained. The most tricky aspect of cutting fabric is making sure to do so in a straight line.
Before cutting, measure the length that you need for the fabric. During this process, you should make marks on the fabric at regular intervals, which will guide you during the cutting process. To create the hem, you’ll first need to measure it, which can be done with the T-square or the dots technique mentioned above.
Make sure that the double-sided tape is laid along the line, after which the backing of the tape needs to be removed. The fabric edge should be folded on top of the tape and firmly pressed down. After this step, the hem is now complete on both sides as well as the bottom. As for the top, you’ll need to make a pocket for the curtain rod, which is done by first measuring the rod.
You should then mark the width as well as 1-2 inches of the uppermost edge. Apply the tape to this area. Afterward, the fabric should be folded over and pressed onto the tape. Now that your curtains are complete, you can hang them and provide your home with a much-improved appearance.
7. Label Kitchen Items
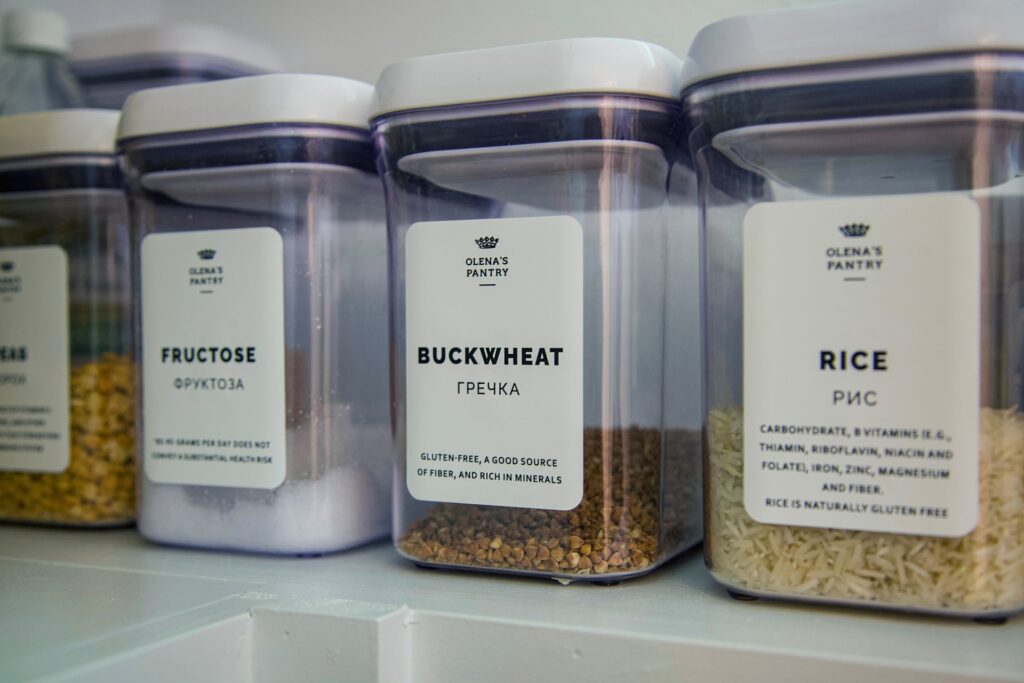
If you have bottles of vinegar and oil as well as other kitchen items that aren’t properly labeled, you could add your own labels to make sure that these items stand out in your kitchen. All you need for this project is some vinyl and a scraping tool, which should cost you around $40-$50. Once you’ve identified the size of the text that would fit on your kitchen items, start cutting the text into your vinyl.
You should then place the sticky side of the transfer sheet onto the text design. Make sure that the sheet is rubbed properly into the design. After you pull the sheet away, only the letters should remain. All that’s left is to position the letters or design onto the bottle. After the transfer has been rubbed into the bottle, you can peel the transfer paper off, which will reveal the final design.
8. Make Your Own Candles
Instead of spending a sizable amount of money on candles that you might not even enjoy, consider making your own candles. At Craftzee, you can purchase DIY candle craft kits that provide you with everything you need to make your own candles. These kits only cost $20 and allow users to make four candles. There are also four different fragrances available to you, which include everything from cherry blossom to fresh cotton. Making a candle with one of these kits takes only 10-15 minutes.
9. Upgrade Your Lighting

The final DIY home decor project to consider is upgrading your lighting. Unless you designed your home from scratch, there’s a good chance that your home contains relatively standard lights that don’t really add to the decor. However, there are many fantastic lighting upgrades you can make with just a little time and a small amount of money. Some light fixtures you should consider adding to your home include:
- Recessed lighting
- Under-cabinet lighting
- Wall sconces
- Pendant lighting
- Skylights
These fixtures can cost anywhere from $100-$2,500 depending on the type of fixture you choose. While some of these can be relatively easy to install, you might want to hire a professional to add skylights to your home. Before starting any DIY lighting project, make sure that you turn off your breakers to avoid electrical shocks.
Sprucing up your home decor is easier than ever. The nine DIY home decor projects in this guide cover a wide range of different types of projects to give you some variety when you’re upgrading the interiors of your home.